NISSAN LEOPARD dashbord repaire
This is a record for a repairing, Nissan Leopard dashboard
First step: Take dashboard out from a body.
remove steering column cover
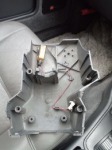
remove steering column cover
Remove meter panel
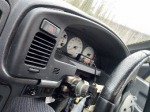
remove Leopard dashboard
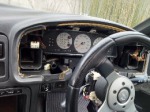
Leopard dashboard inside panel removed
Took sterring wheel out
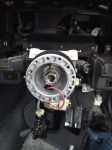
remove steering wheel
Globe box holder
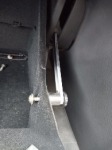
remove Globe box holder
remove globe box inside cover
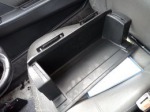
remove globe box inside cover
remove steering column cover, ode meter and sticks
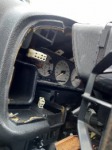
remove steering column cover, ode meter and sticks
remove A pillar
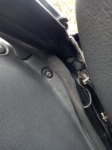
remove A pillar
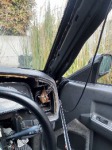
remove A pillar
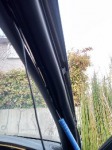
after remove A pillar
remove room handle
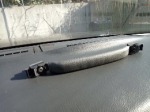
remove room handle
remove connectors
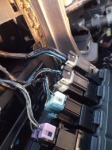
remove connectors
STEP TWO
Repair dashboard using EPOXY RESIN ADHESIVE
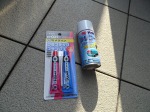
use Epoxy resin adhesive
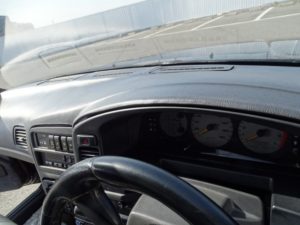
Dashboard lifting and a gap
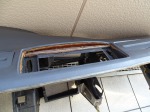
Dashboard lifting and a gap
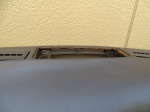
Dashboard
Press using a vise
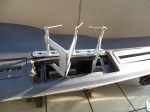
Press using a vise
after repair dashboard
